When the grid goes down, or you find yourself far from civilization, the thought of losing power can be unsettling. But what if the solution was as simple as a bicycle and a bit of ingenuity? Welcome to the world of Applications of Bike Generators: Emergency & Off-Grid Use, where human power transforms into usable electricity, offering a reliable backup when traditional sources fail. This isn't just a quirky DIY project; it's a powerful tool for self-reliance, sustainability, and peace of mind.
At its heart, a bike generator system converts the mechanical energy from pedaling into electrical energy. It’s a beautifully direct way to charge devices, power essential small appliances, or simply keep the lights on, giving you independence from an unreliable grid and freedom in remote locations.
At a Glance: Pedal Power Essentials
- Human-Powered Backup: Generate electricity anytime, anywhere, independent of weather or grid availability.
- Sustainable & Empowering: A green energy solution that fosters self-sufficiency and fitness.
- Practical Output: Easily charge phones, tablets, laptops, run LED lights, small fans, and radios.
- Key Components: Requires a bicycle, generator, drive mechanism, voltage regulator, and often batteries and an inverter.
- Scalable: Systems can be tailored from basic phone chargers to setups powering multiple small appliances.
- DIY Friendly: With proper planning, a robust and useful system can be built at home.
Why Pedal Power? Your Personal Energy Freedom
Imagine a world where your access to electricity isn't dictated by the whims of a distant power company or the availability of fuel. That's the promise of a bike generator. It's an elegant solution to a fundamental need, offering several compelling advantages:
- Grid Independence: When storms knock out power or you’re deep in the backcountry, a bike generator keeps you connected and operational.
- Weather Agnostic: Unlike solar panels needing sunshine or wind turbines requiring a breeze, human power is always available, come rain or shine.
- Self-Sufficiency: Building and operating your own power source instills a profound sense of empowerment and preparedness.
- Physical Fitness: It's a workout with a tangible reward – every pedal stroke directly translates to watts of power.
- Environmental Responsibility: You're generating clean energy with zero emissions, a truly green alternative.
This approach isn't just about survival; it's about smart, sustainable living and understanding the real value of the energy we consume. For a deeper dive into how these remarkable systems function, you might want to learn more about bike generators and their underlying principles.
What Can You Power with Your Pedals? Setting Realistic Expectations
Before you envision powering your entire home with a bicycle, it's crucial to understand the realistic output of human pedaling. An average adult, with casual pedaling, can continuously generate a solid 40-100 watts. If you put in a more intense effort, you might see 80-150 watts. For shorter bursts, athletic individuals can even push 150-300 watts.
So, what does this translate to in terms of usable power? Quite a lot for emergency and off-grid needs:
- Phone Charging: A mere 5-10 watts is usually enough. You can charge multiple phones or keep one topped up constantly.
- Tablet Charging: Requires a bit more, typically 10-20 watts.
- LED Lighting: A single efficient LED fixture might draw only 5-20 watts, easily illuminating a room or campsite.
- Small Fans: Keeping cool can be critical, and small fans typically run on 10-30 watts.
- Radio Equipment: Essential for communication, radios generally need 5-25 watts.
- Small Laptop Charging: Many modern, efficient laptops can charge at 30-60 watts. This makes remote work or education feasible.
- Small Water Pumps: Crucial for hygiene or gardening, small pumps can operate on 50-100 watts.
While you won't be running a refrigerator or air conditioner (those are high-demand appliances best left to the grid or robust solar setups), a bike generator provides a lifeline for critical electronics and small creature comforts. It's about meeting essential needs reliably.
Decoding the Bike Generator System: Core Components Explained
A robust bike generator system isn't just a bike and a dynamo; it's an integrated setup of several key components working in harmony. Understanding each part is essential whether you're building one from scratch or looking to optimize an existing system.
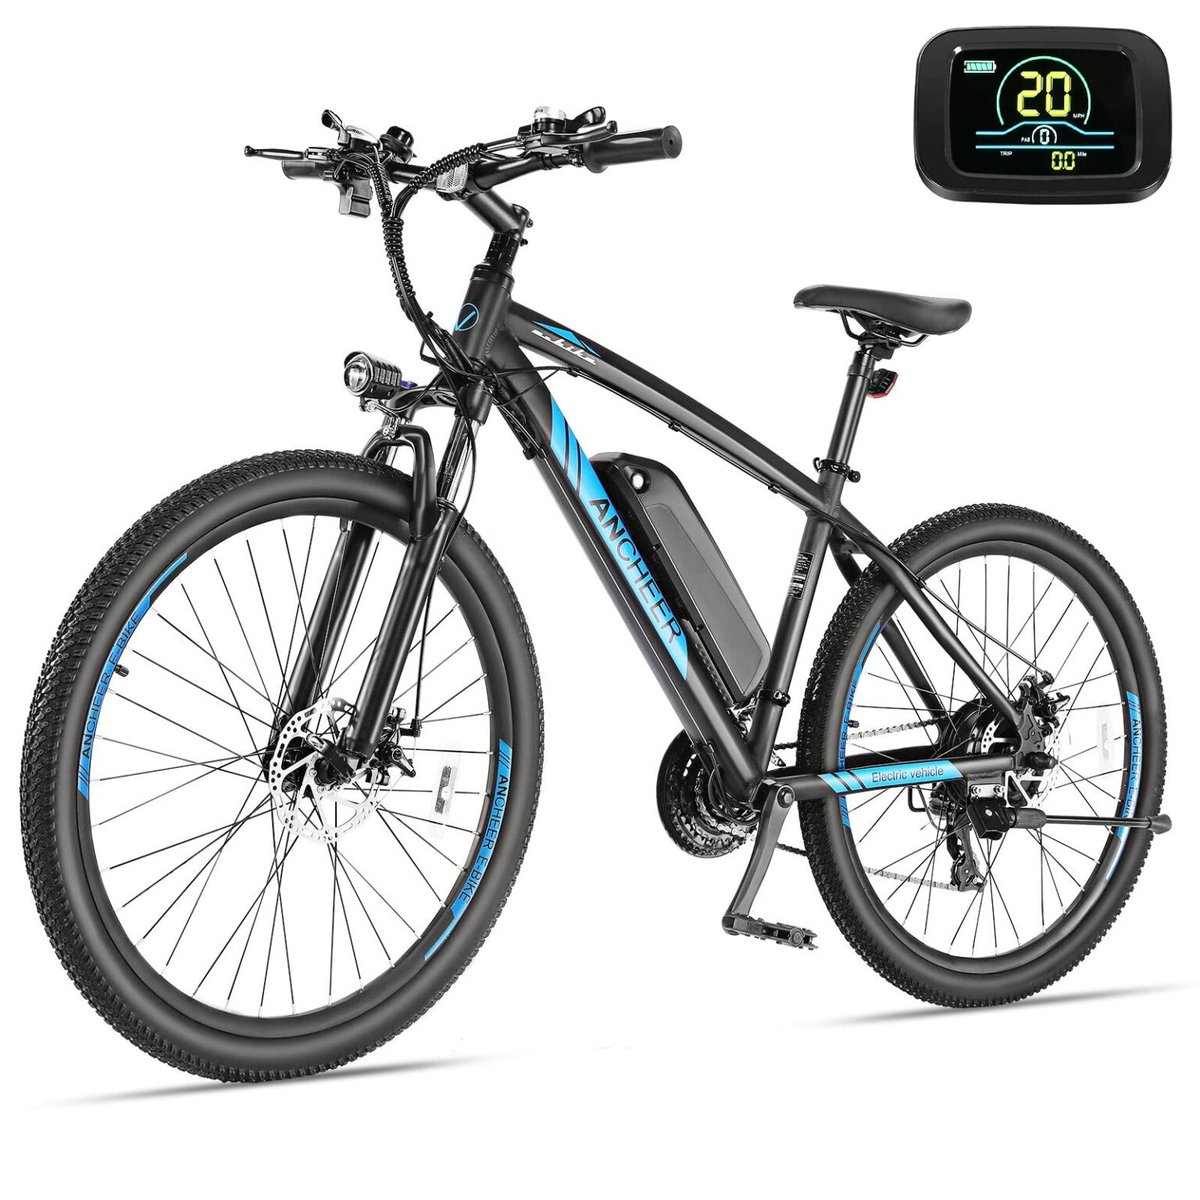
1. The Pedaling Mechanism: Your Power Plant
This is where the magic begins ��� your bicycle or a dedicated pedaling mechanism. It's the engine of your system, converting your muscle power into mechanical energy. For DIY setups, often a standard bicycle mounted on a trainer stand is used. More permanent systems might involve stripping down a bike frame or building a custom stand for stability and efficiency.
2. The Generator: Transforming Motion into Electricity
This is the heart of the electrical conversion. Several options exist:
- Permanent Magnet DC Motor: Often repurposed from electric scooters or treadmills, these are simpler, cost-effective, and provide variable voltage. They're excellent for smaller, budget-friendly builds.
- Automotive Alternator: Found in cars, these are designed for continuous output and often include a built-in voltage regulator. They require an initial "field power" (a small amount of electricity) to get started but offer more regulated output and robust performance for higher power demands.
- Dynamo Hubs: Integrated into bicycle wheels, these are convenient for very low-power applications (like charging a phone directly while riding) but generally don't offer the watt output for comprehensive off-grid use.
The choice depends on your power goals and budget.
3. The Drive Mechanism: Bridging Human to Machine
Humans pedal efficiently at around 60-80 revolutions per minute (RPM). Generators, however, perform optimally at much higher speeds, typically 1000-3000 RPM. The drive mechanism, usually a chain or belt system, is critical for bridging this gap. It multiplies your pedaling speed, allowing the generator to spin at its most efficient rate. Achieving the correct gear ratio here is paramount for both power output and pedaling comfort.
4. The Voltage Regulator: Your System's Stabilizer
The output from a generator, especially a simple DC motor, can fluctuate significantly with pedaling speed. A voltage regulator is essential to stabilize this output, ensuring a consistent voltage (e.g., 12V or 24V DC) that won't damage your connected devices or charging batteries. Think of it as a crucial protective buffer.
5. Energy Storage: Batteries & Charge Controllers (Optional but Recommended)
While you can use power directly, storing it for later use significantly enhances a bike generator's utility.
- Batteries: These are your power bank. Common choices include lead-acid (affordable, robust, but heavy and require ventilation) and lithium-ion (lighter, more energy-dense, but more expensive and require a Battery Management System – BMS).
- Charge Controller: Absolutely critical when using batteries. It manages the flow of electricity from the generator to the batteries, preventing overcharging (which can damage batteries and create safety hazards) and ensuring optimal charging cycles.
6. The Inverter: From DC to AC (Optional)
Most small electronics run on DC power (like USB devices), but many household appliances use AC power. An inverter converts the DC power stored in your batteries (or directly from the regulator) into usable AC power. For sensitive electronics like laptops, a pure sine wave inverter is highly recommended, as it mimics grid power most accurately, preventing potential damage.
7. The Control Panel: Your System's Dashboard
A well-designed control panel is your window into the system's performance. It typically includes:
- Meters: Voltage and current meters show you how much power is being generated and consumed.
- Indicator Lights: For system status, battery charge, etc.
- Output Ports: USB ports for phones, 12V DC sockets, and AC outlets (if using an inverter) make it easy to connect devices.
- Power Consumption Display: A handy feature to see real-time energy usage.
Clear labeling of all controls is key for user-friendliness.
8. Safety Features: Protecting You and Your Gear
Electricity, even low-voltage DC, demands respect. Essential safety features include:
- Fuses & Circuit Breakers: Protect against overcurrents, preventing damage to components and reducing fire risk.
- Ground Connections: Crucial for safety, especially with AC components.
- Voltage Cutoffs: To prevent batteries from being over-discharged (damaging them) or overcharged.
Always err on the side of caution when designing and building your system.
Getting the Most from Your Pedal Power: Actionable Insights for Efficiency
Building a bike generator is one thing; using it efficiently is another. Here are some pro tips to maximize your output and prolong your system's life:
- Maintain a Steady Cadence: Consistent pedaling (around 60-80 RPM for most) is more efficient than sporadic bursts. It provides a smoother power delivery and is less taxing on both you and the generator.
- Use Power Directly When Possible: If you're actively pedaling and need to charge a phone, plug it in directly (via the regulated DC output) rather than routing all power through batteries first. This minimizes conversion losses that occur when storing and then retrieving energy.
- Connect Devices with Similar Voltage Requirements: This reduces the need for multiple voltage conversions, each of which incurs a small energy loss. For instance, charge 12V DC devices directly from your 12V regulated output.
- Always Use a Proper Charge Controller: When charging batteries, this is non-negotiable. A good charge controller optimizes the charging process, protects your batteries from overcharging or deep discharge, and significantly extends their lifespan.
- Regular Lubrication and Tension Checks: The mechanical components, especially the chain and drive belt, need care. Regularly lubricate the chain and inspect its tension, as well as the generator's mounting bolts. Proper alignment and reduced friction mean more of your effort goes into generating electricity, not fighting resistance.
Think of your bike generator as a living system. A little regular attention goes a long way in ensuring it's ready when you need it most.
Building Your Own Bike Generator: A Step-by-Step Guide
Embarking on a DIY bike generator project can be incredibly rewarding. Here’s a detailed roadmap to guide you through the process, from initial concept to a fully operational system.
1. Design & Planning: The Blueprint for Success
Before you even touch a wrench, plan. What are your power goals? Are you aiming for 100W to keep devices charged, or 200-400W for small appliances?
- Calculate Gear Ratios: This is critical. You need to match your comfortable pedaling speed (60-80 RPM) to your chosen generator's optimal operating RPM (1000-3000 RPM). Research online calculators or use simple gear tooth counts.
- Wiring Diagram: Sketch out your entire electrical system. Where will the generator connect to the regulator? How will the charge controller, batteries, and inverter be integrated? This prevents headaches later.
- Component Sourcing: Make a list of all components and source them from reliable suppliers.
2. Bicycle/Frame Preparation: A Stable Foundation
You'll need a stable platform.
- Trainer Stand: The simplest option is a sturdy bicycle trainer stand if using your everyday bike.
- Dedicated Frame: For a more permanent setup, construct a robust, secure frame. This might involve cutting down an old bike frame or building one from scratch with wood or metal.
- Ensure Stability: The system must not wobble or tip during vigorous pedaling. Proper alignment is key here too.
3. Generator Mounting: Precision is Key
Securely attach your generator to the frame.
- Robust Bracket: Design or purchase a bracket that holds the generator firmly, resisting vibrations and torque.
- Precise Alignment: The generator must be perfectly aligned with your drive system to prevent undue wear on chains/belts and bearings. Consider cooling; sustained high output can heat up the generator.
4. Drive System Installation: Transferring Power
This is where your pedaling motion gets transferred.
- Gearing: Connect the bicycle's drive (often the rear wheel or directly from the crankset) to the generator. This usually involves a chain or belt.
- Optimal Gear Ratio: Install the sprockets or pulleys that achieve your calculated gear ratio.
- Tension: Ensure the chain or belt has the correct tension – not too loose (it'll slip) and not too tight (it'll cause excessive friction and wear).
- Flywheel (Optional): Integrating a flywheel into the drive system can smooth out power delivery, making pedaling feel more consistent and helping maintain momentum.
5. Electrical Component Mounting: Organized & Safe
Mount all your electrical components – voltage regulator, charge controller (if using batteries), fuses/breakers, and any power redirection switches – onto a non-conductive board or enclosure. This keeps everything organized and protected.
6. Wiring Installation: Connect with Confidence
Follow your wiring diagram meticulously.
- Sized Wire: Use appropriately sized wire for each circuit (e.g., 10-14 AWG for main power lines, smaller for control signals). Undersized wire can overheat.
- Secure Connections: All connections should be tight, preferably soldered or crimped with quality connectors.
- Protection: Route wires neatly, protect them from abrasion, and label them clearly.
- Grounding: Include a proper ground connection for safety, especially if you have AC components.
- Separate Circuits: Keep AC and DC circuits separate where possible to avoid interference and for safety.
7. Control Panel Creation: Your User Interface
Design and build a user-friendly control panel.
- Meters: Install voltage and current meters.
- Indicator Lights: Add lights for system status (e.g., "power on," "charging").
- Output Ports: Integrate USB ports, 12V DC outputs, and AC outlets (if an inverter is used).
- Labeling: Label all controls and outputs clearly. Mount the panel in a visible, easily accessible location.
8. Battery Integration (Optional): Storing Your Energy
If using batteries:
- Mounting: Securely mount your batteries in a ventilated, protected location. Avoid areas prone to extreme temperatures or direct sunlight.
- Connections: Connect batteries to the charge controller, ensuring correct polarity.
- Protection: Include overcurrent protection (fuses) on the battery bank.
- Monitoring: Add a state-of-charge monitor to track battery levels.
- Safety: For lead-acid, ensure proper containment and ventilation. For lithium-ion, a robust BMS is mandatory for safety and longevity.
9. Inverter Setup (Optional): AC Power on Demand
If you need AC power:
- Sizing: Mount an appropriately sized inverter (typically 150-500W is suitable for most bike generator applications).
- Connection: Connect the inverter to your battery bank (or regulated DC output) with proper fusing.
- Cooling: Ensure the inverter has good airflow for cooling, as it generates heat during operation.
10. Testing & Calibration: Verify and Optimize
This is a critical step to ensure safety and functionality.
- Resistive Load: Test the system with a simple resistive load like a light bulb.
- Measurements: Measure voltage and current at various pedaling speeds.
- Regulator Check: Verify that the voltage regulator maintains a stable output within acceptable limits.
- Safety Systems: Confirm all fuses, circuit breakers, and cutoffs function correctly.
- Compare to Goals: Compare your actual power output to your design goals and make any necessary adjustments to gearing or alignment.
11. Final Assembly & User Interface: Polish and Comfort
- Secure Components: Double-check that all components are firmly secured.
- Eliminate Hazards: Cover exposed wiring, sharp edges, and moving parts. Add safety guards.
- User Instructions: Create clear, concise instructions for operating your system.
- Comfort: Add a comfortable, adjustable seat and appropriate pedals. Ergonomics will encourage longer pedaling sessions.
Keeping the Wheels Turning: Maintenance & Troubleshooting
Even the most robust systems need a little TLC. Regular maintenance prevents issues, and knowing how to troubleshoot common problems keeps your bike generator reliable.
Mechanical Maintenance
- Chain/Belt Tension & Lubrication: Regularly check that your drive chain or belt has the correct tension. Lubricate the chain frequently to minimize friction and wear, just as you would on a regular bicycle.
- Mounting Bolts & Brackets: Inspect all mounting hardware for loosening. Vibrations from pedaling can gradually loosen bolts, affecting alignment and performance.
- Alignment: Verify that the bicycle's drive and the generator remain perfectly aligned. Misalignment leads to increased friction, reduced power transfer, and premature component wear.
- Bearings: Listen for unusual noises. Worn bearings in the generator or drive system can indicate a need for replacement or lubrication.
Electrical Maintenance
- Battery Condition (if applicable): Periodically test your batteries (e.g., with a multimeter to check voltage). For lead-acid, check electrolyte levels if they are not sealed. For lithium-ion, monitor your BMS for any error codes.
- Wire Connections: Inspect all wire connections for corrosion, fraying, or loosening. Secure connections are vital for efficient power transfer and safety.
- Voltage Regulator Output: Periodically verify that your voltage regulator is consistently outputting voltage within the acceptable range (e.g., 12-14V for a 12V system). Fluctuations can indicate a faulty regulator or an issue with the generator input.
Common Issues & Troubleshooting
- Low Power Output / Output Voltage Drops:
- Check Generator Alignment: Misalignment can cause the generator to drag or not spin efficiently.
- Drive Belt/Chain Tension: A loose belt or chain will slip, reducing power transfer. Too tight can cause excessive friction.
- Pedaling Cadence: Are you maintaining a steady, appropriate pedaling speed?
- Generator Fault: In rare cases, the generator itself might be failing.
- Unexpected Battery Drain:
- Parasitic Loads: Ensure all devices are disconnected when not in use. Some inverters draw a small amount of power even when idle.
- Charge Controller Issue: A faulty charge controller might not be properly regulating charging or discharging.
- Battery Health: Older batteries naturally lose capacity and might drain faster.
- Mechanical Noise or Resistance:
- Bearings: Inspect generator bearings and any idler pulleys or other rotating components.
- Alignment: Recheck the alignment of the entire drive system.
- Lubrication: Ensure all moving parts are adequately lubricated.
- Component Rubbing: Look for any parts of the system that are rubbing against each other.
Regular preventive maintenance is your best defense against these issues, ensuring your pedal power system is reliable when you need it most.
Beyond Emergencies: Broader Applications & Future Thinking
While their utility in power outages is undeniable, the applications of bike generators extend far beyond simply being a backup. They represent a versatile and empowering technology with a place in sustainable living and education.
Portable Off-Grid Solutions
Imagine camping deep in the wilderness, attending a remote festival, or conducting field research where grid power is non-existent. A portable bike generator system provides the power you need for communication, lighting, and essential tools, offering true freedom from electrical tethers. Many designs are becoming more compact and modular, making them ideal companions for adventure.
Educational Tools
Bike generators are fantastic teaching aids. They offer a tangible, immediate demonstration of the principles of energy conversion, electromagnetic induction, and the effort required to generate electricity. Schools, science fairs, and community workshops can use them to foster a deeper understanding of sustainable energy and consumption.
Contributing to Sustainable Living
Integrating a bike generator into a broader sustainable lifestyle can significantly reduce your carbon footprint. By offsetting even a small portion of your electricity consumption with human power, you contribute to environmental preservation and promote conscious energy use. It's a small but meaningful step towards energy independence and environmental stewardship.
Hybrid Systems for Enhanced Reliability
For those looking for robust off-grid power, bike generators can be integrated into hybrid systems alongside other renewable sources like solar panels or small wind turbines. For example, during cloudy days or calm nights when solar or wind output is low, you can pedal to top up your battery bank. This combination creates a highly reliable and resilient power solution, leveraging the strengths of each source.
It's important to remember that while incredibly useful for small-scale needs, bike generators are not designed as replacements for high-demand conventional power sources. They excel at providing essential, targeted power for critical devices and small appliances, making them a smart, sustainable, and empowering addition to any preparedness plan or off-grid setup.
The Path Forward: Embracing Pedal Power
The ability to generate your own electricity, simply by pedaling a bicycle, is more than just a novelty; it's a profound step towards personal resilience and sustainable living. From ensuring your family's safety during a blackout to powering a remote adventure, the applications of bike generators are practical, empowering, and increasingly relevant in our unpredictable world.
Whether you're a seasoned DIY enthusiast ready to build your own system, or someone simply curious about generating your own power, the journey into pedal power is an enlightening one. It strips away the mystery of electricity generation and reconnects you with the fundamental effort required to produce it. Embrace the pedal, and unlock a new level of independence and peace of mind. Your watts await!